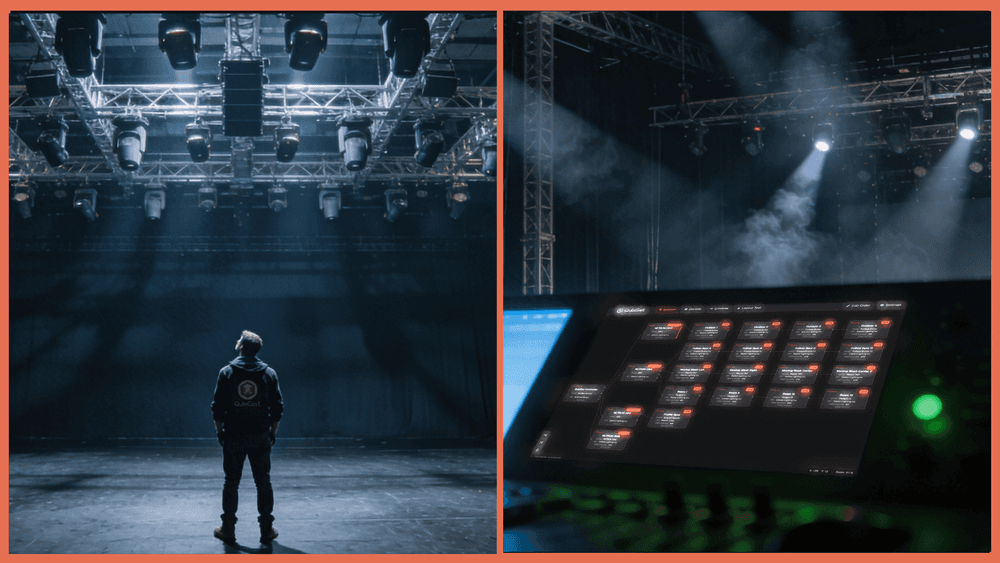

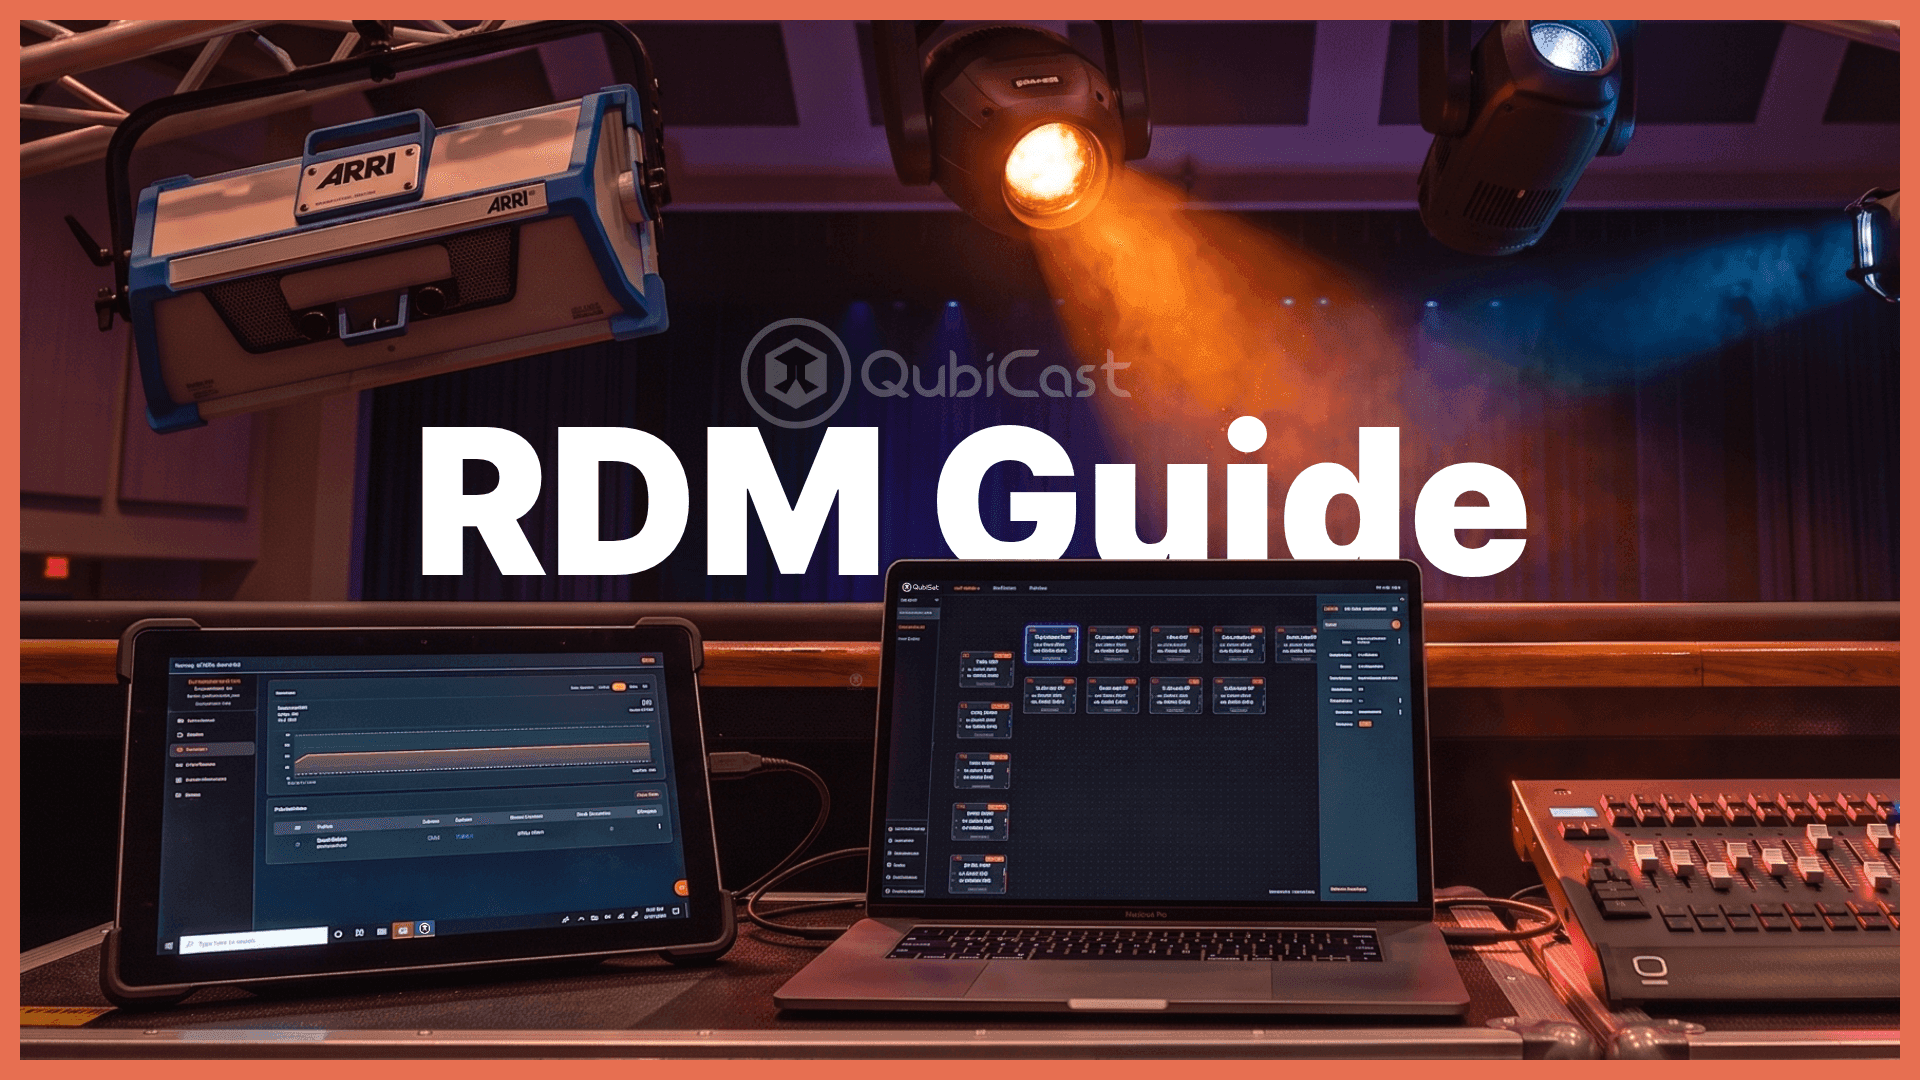
Climbing a ladder or walking the rig just to change a DMX address is a massive waste of time. RDM (Remote Device Management) lets you find fixtures on a DMX line, read their status, and change their settings remotely. It works over the same two-wire connection as DMX, is backward compatible with existing cabling, and has been part of the ANSI E1.20 standard since 2006. Despite that, many entertainment lighting technicians have never used it, either because they do not know where to start or because their first attempt failed and they turned it off.
This guide covers what you need, how to set it up, what you can actually do with it, and where it commonly fails.
What You Need
RDM requires a few things in the signal path. If any one of them is missing, nothing will work.
An RDM-capable controller. This can be a lighting console (ETC Eos family, Obsidian NX, grandMA3, ChamSys MagicQ, and others all support RDM), a dedicated configuration tool like ETC Net3 Concert, a handheld device like the City Theatrical DMXcat or Chauvet RDM2go, or a network monitoring tool like QubiSet.
RDM-capable fixtures. The fixture must actually implement RDM, not just claim compatibility. RDM support is optional in lighting fixtures, and the depth of implementation varies widely. Some fixtures support full remote configuration for addresses, personalities, sensors, and identify commands. Others only respond to discovery and report a manufacturer ID. Check your fixture specification sheet for which RDM features it supports before assuming everything will work.
RDM-compatible splitters in the signal path. This is where most first attempts fail. Standard DMX splitters are unidirectional. They pass DMX data from input to output but block any signal traveling back the other way. RDM is bidirectional, so a standard splitter will silently kill all RDM communication while DMX continues working normally. You need splitters specifically labeled as RDM-compatible or bidirectional. Many manufacturers (e.g., NETRON, Chauvet, Swisson, ETC, Theatrixx, ENTTEC) make RDM-compatible versions. Some include an RDM defeat switch so you can disable bidirectional communication if it causes problems with legacy equipment.
Network gateways with RDM enabled. If your DMX path goes from the console through a network gateway (like an ETC Net3 gateway or a NETRON node) and then out via DMX to fixtures, RDM must also be enabled on the gateway DMX output port. This is a separate setting from the console RDM toggle.
Setting It Up
The exact steps depend on your console, but the pattern is the same everywhere.
Step 1: Verify the signal path. Before enabling RDM, confirm that your DMX chain works normally. Fixtures should respond to DMX control. If basic DMX does not work, RDM will not either. Check that every splitter in the chain is RDM-compatible. If you are going through a network gateway, check that the gateway DMX output port has RDM enabled (this is often off by default).
Step 2: Enable RDM on your controller. On an ETC Eos family console, go to Patch, open the Device List, and enable RDM discovery. On a grandMA3, enable the RDM button in Menu, Network, Stations tab, then set each XLR port mode from "Out" to "RDM" in the Connector Configuration. If you are using QubiSet on your network, ensure your computer is on the correct lighting subnet and ensure the interface you want to scan devices on, is switched on in the settings.
Step 3: Wait for discovery. RDM discovery does not happen instantly. The controller sends discovery messages during the gaps between normal DMX packets, so it takes time. On a small system with a handful of fixtures, expect a few seconds. On a larger system, discovery can take significantly longer. Depending on configuration the controller will usually keep searching as long as RDM is enabled, so devices added later will eventually appear.
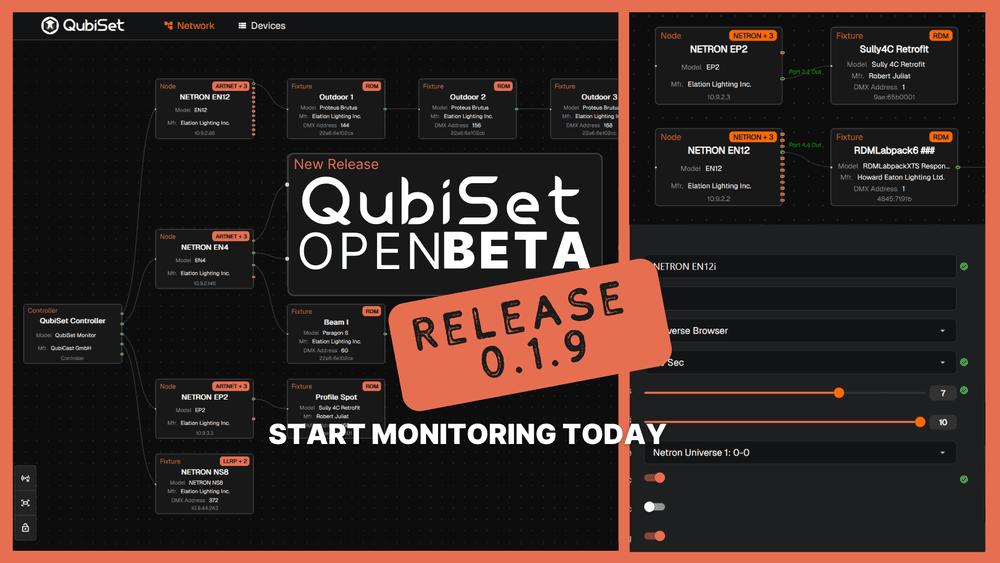
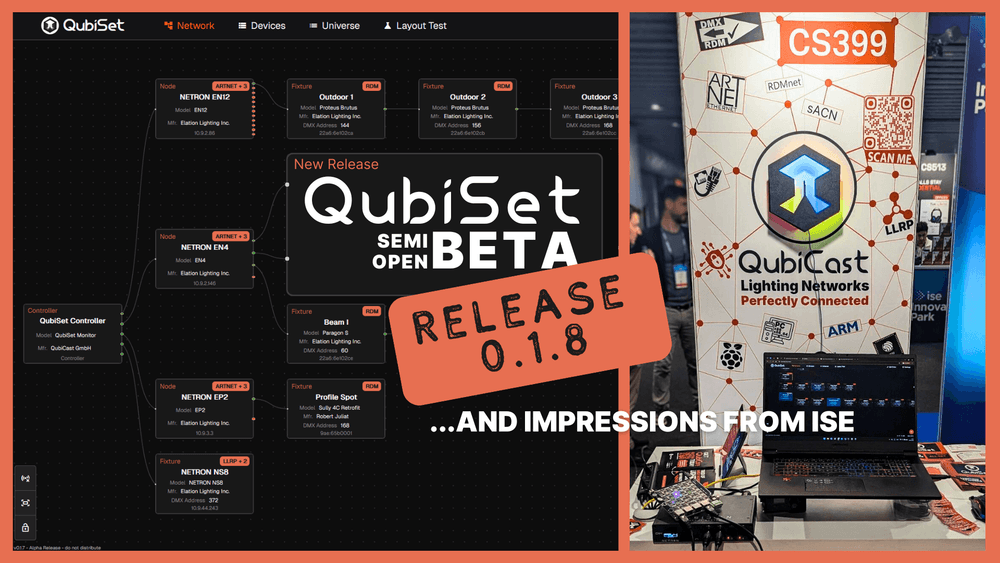
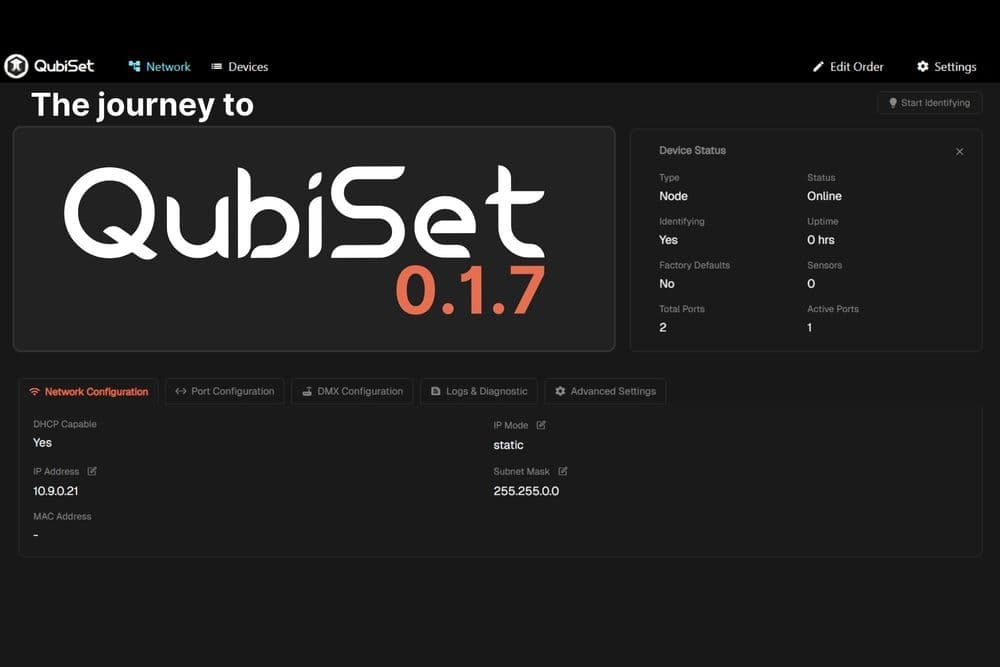
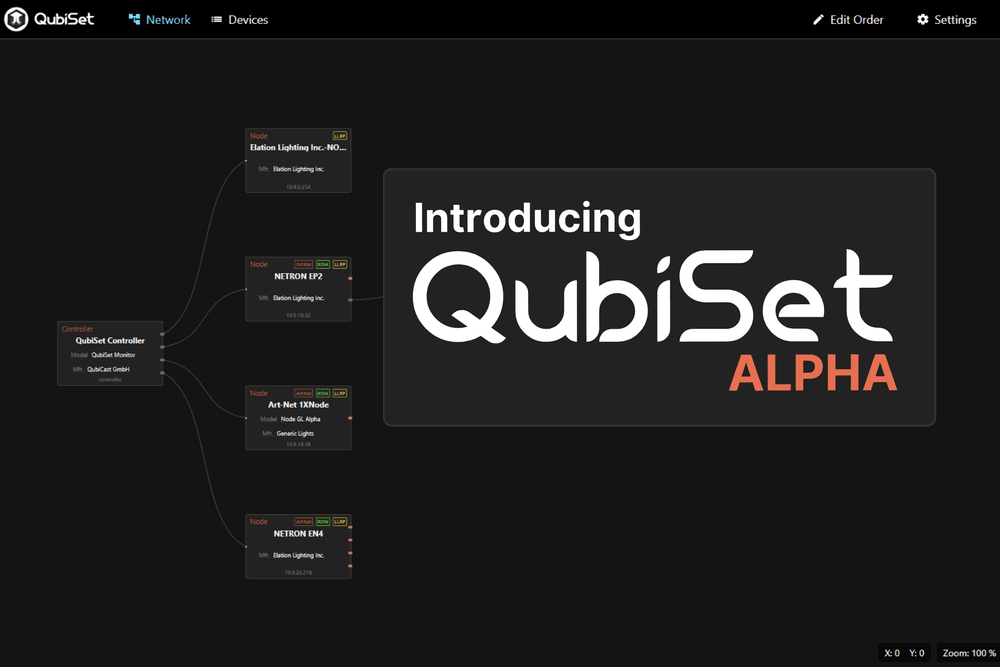
Step 4: Review discovered devices. Once devices appear, you will see their UID (a 48-bit unique identifier assigned at manufacture), manufacturer name, model, current DMX address, and DMX personality (operating mode). While some consoles integrate this into a dense patch view, QubiSet instantly populates these devices into a visual network layout, making it much easier to spot addressing gaps or offline fixtures across different universes.
What You Can Do With It
RDM capabilities are defined as Parameter IDs (PIDs). Every RDM device must support a minimum set, but most useful fixtures support considerably more. The most practical ones for day-to-day work include:
Change DMX start addresses remotely. Instead of climbing to a fixture or using its onboard menu, you can reassign its DMX address from your console or QubiSet interface. The fixture updates immediately. This is the single most time-saving RDM feature for most technicians.
Change DMX personality. Many fixtures have multiple DMX modes with different channel counts and feature sets. RDM lets you switch between them remotely. This is highly useful when you need to change a fixture from a 16-channel extended mode to an 8-channel basic mode for a simpler show.
Identify a fixture. The IDENTIFY_DEVICE command (PID 0x1000) tells a fixture to physically identify itself. What this looks like depends on the manufacturer. ARRI SkyPanels flash blue. Elation and ETC fixtures blink on and off. Wybron color scrollers wiggle the gel back and forth. The standard deliberately does not specify the behavior, only that the device must make itself identifiable. This is invaluable during initial rigging when you need to confirm which physical fixture corresponds to which UID in your patch.
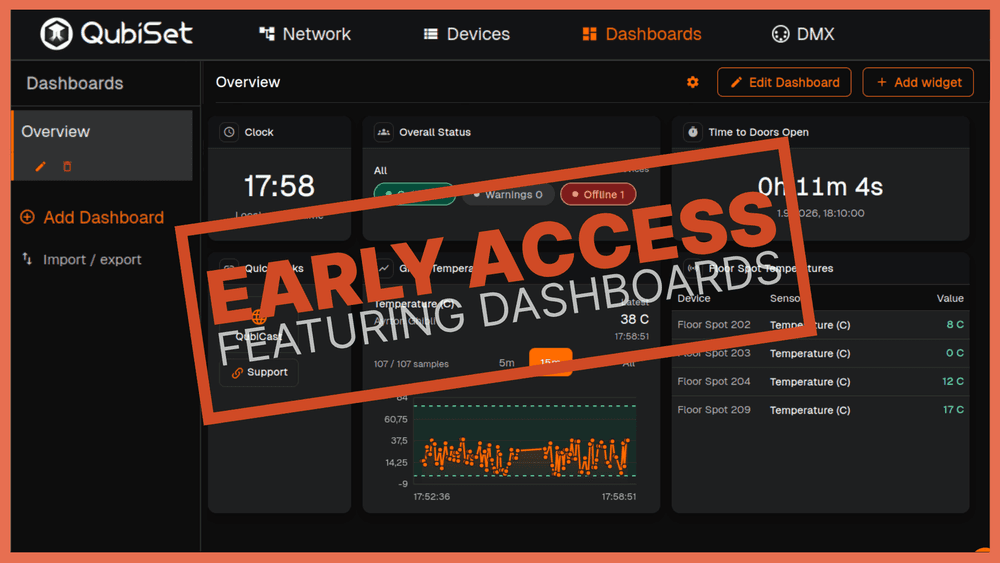
Read sensor data. RDM-capable fixtures can report internal temperature, input voltage, runtime hours, and other operational data. Higher-end LED moving heads often report two to four temperature readings across different internal components. A fixture consistently running hotter than its neighbors may indicate a blocked vent or failing fan. Pulling this data into a monitoring tool like QubiSet allows you to check the health of your entire rig from front of house.
Read and set device labels. You can assign a human-readable name to each fixture (up to 32 characters) that persists on the device. This is useful for labeling fixtures by position ("FOH Spot 3") so they are identifiable in discovery even if they get readdressed.
Where It Commonly Fails
RDM is straightforward in theory but has several practical failure points that are well-documented across manufacturer support pages and community forums.
Non-RDM splitters in the chain. This is the most common cause of "RDM doesn't work." Everything looks correct, DMX works fine, but no devices appear in discovery. The splitter is silently blocking the return path. Some splitters have an RDM indicator LED that confirms bidirectional traffic is passing through.
RDM not enabled on gateway ports. If your DMX goes through a network gateway, RDM must be enabled on the gateway output port, not just on the console. ETC Net3 Concert documentation specifies this rule explicitly for their hardware.
Legacy fixtures misbehaving. The ANSI E1.20 standard says that non-RDM devices should ignore RDM packets (which use start code 0xCC instead of the standard 0x00). In practice, some fixtures do not ignore them cleanly. Symptoms range from subtle timing glitches to visible flickering. If you suspect this, disable RDM on that specific DMX port or use a splitter with an RDM defeat switch to isolate the problematic fixtures.
"RDM compatible" does not mean "fully featured." A fixture can claim RDM support while only implementing the bare minimum of discovery and a manufacturer ID. Remote addressing, personality changes, sensor readback, and identify commands may not be supported. Always check the fixture RDM specification sheet or PID support list before assuming a feature will work.
Firmware version matters. Fixture firmware updates frequently add or fix RDM features. On the control side, legacy hardware might require specific updates (for example, older ETC Eos IO cards require version 1.4.1 or higher for local RDM). If RDM is not working as expected, check firmware versions on both ends. Use QubiSet for devices supporting FTC (RDM File Transfer) to update their firmware.
RDM Over IP Networks
RDM was designed specifically for DMX512 cabling. It operates on a single DMX universe and cannot natively cross network boundaries. But most modern entertainment lighting systems use Ethernet to transport data to gateways. This creates a protocol gap.
Art-Net solves this by including native RDM transport via ArtRdm packets. This allows RDM communication to travel over the network from the console to a remote gateway and out to the fixtures.
sACN does not support RDM natively. The RDMnet standard (ANSI E1.33) was developed to bridge this gap, but its complex broker-based architecture severely limited its adoption. For practical purposes in the field today, the full RDMnet standard is essentially dead.
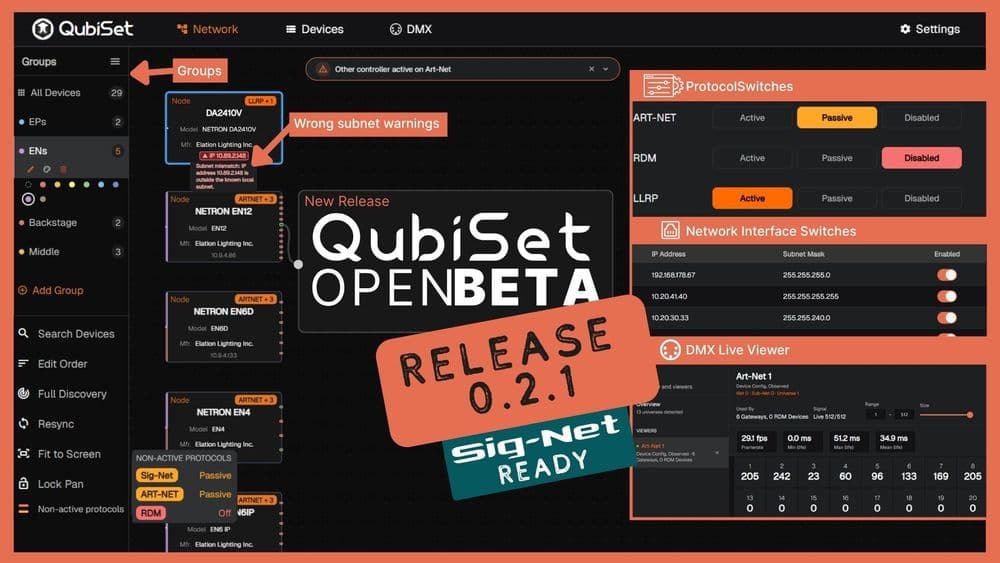
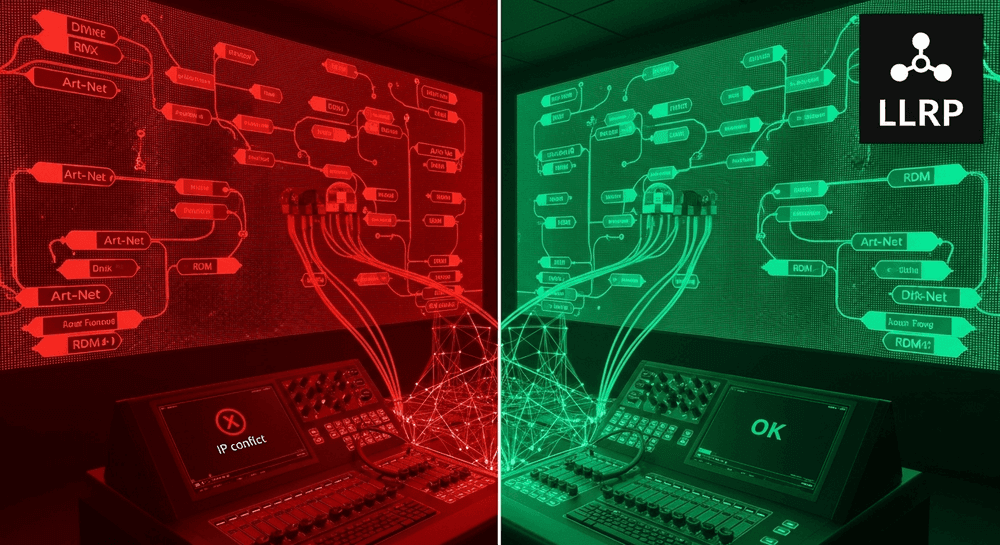
However, one specific part of that standard survived and is incredibly useful: LLRP (Low Level Recovery Protocol). Many modern fixtures and network nodes support LLRP. It uses multicast discovery independent of normal IP connectivity, which means you can find and fix wrongly configured devices even when they are on the completely wrong IP subnet. QubiSet deeply integrates this capability. As we highlighted in our recent v0.2.1 update, QubiSet automatically flags these wrong-subnet devices so you can recover them straight over the wire without constantly changing your computer's IP address.
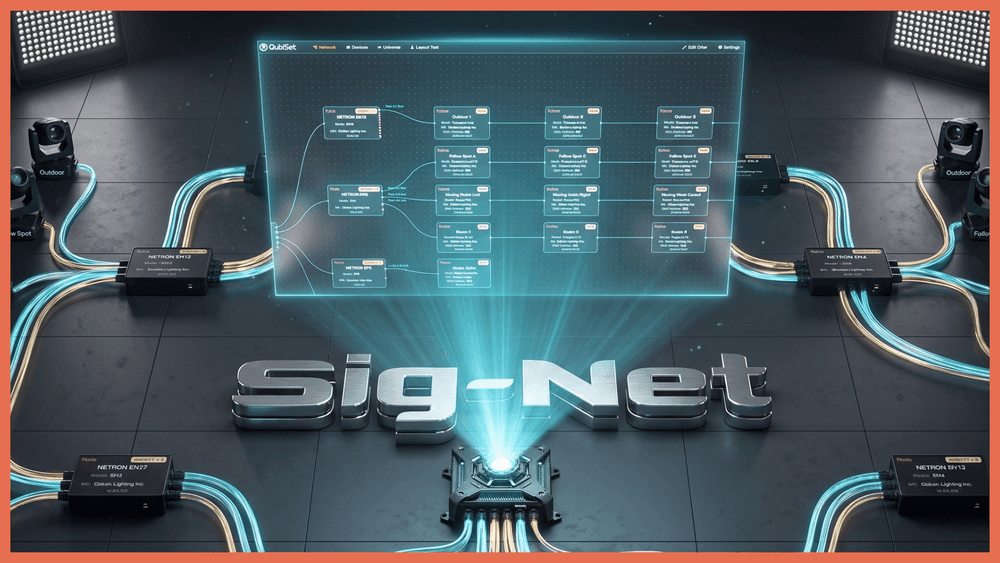
Beyond LLRP, the industry is already moving past the rest of RDMnet, looking toward Sig-Net as the future of secure lighting networks to handle device management and meet upcoming cybersecurity regulations.
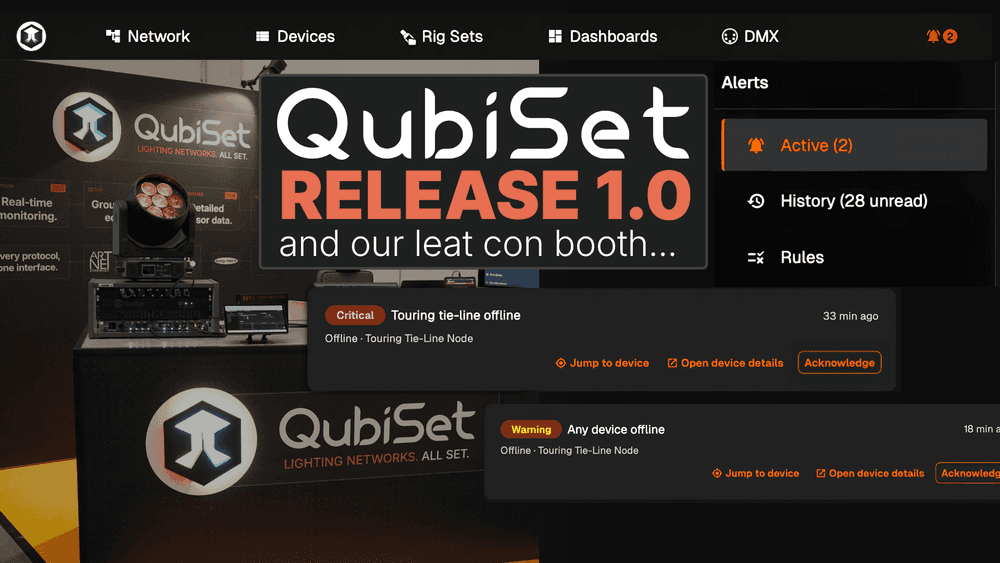
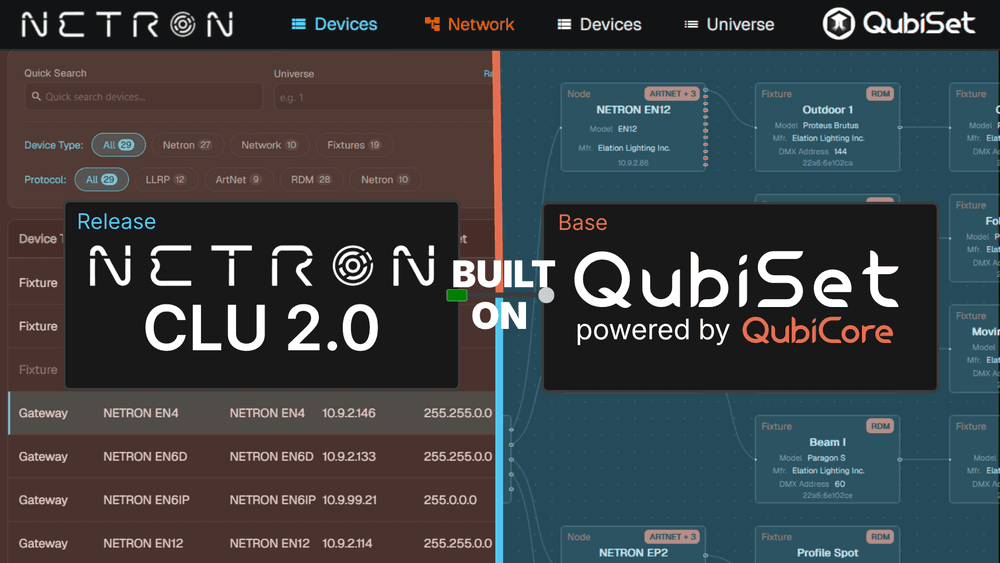
This fragmented protocol landscape is exactly why tools like QubiSet exist. It interacts with devices natively across your entire network, providing a single view of all fixtures regardless of which protocol or gateway they use. Manufacturers are actively leveraging this approach to improve user experience. For instance, our collaboration with Obsidian Control Systems on their NETRON CLU 2.0 software utilizes QubiCore technology to provide seamless device visibility across massive installations where checking individual gateways is impossible.
Try It
If you have never used RDM, the simplest way to start is with a direct connection: console DMX output straight to a single RDM-capable fixture, with no splitters in between. Enable RDM on the console, run discovery, and confirm the fixture appears. Once that works, add splitters back into the chain (RDM-compatible ones) and verify discovery still functions. Build complexity gradually rather than troubleshooting an entire rig at once.
The technology has been in the standard for nearly twenty years. The fixtures in your rig may already support features you have never used.
QubiCast builds networking tools for the entertainment lighting industry. QubiSet discovers and configures RDM devices across your entire network from a single interface. Try the Open Beta today at qubicast.com/qubiset